
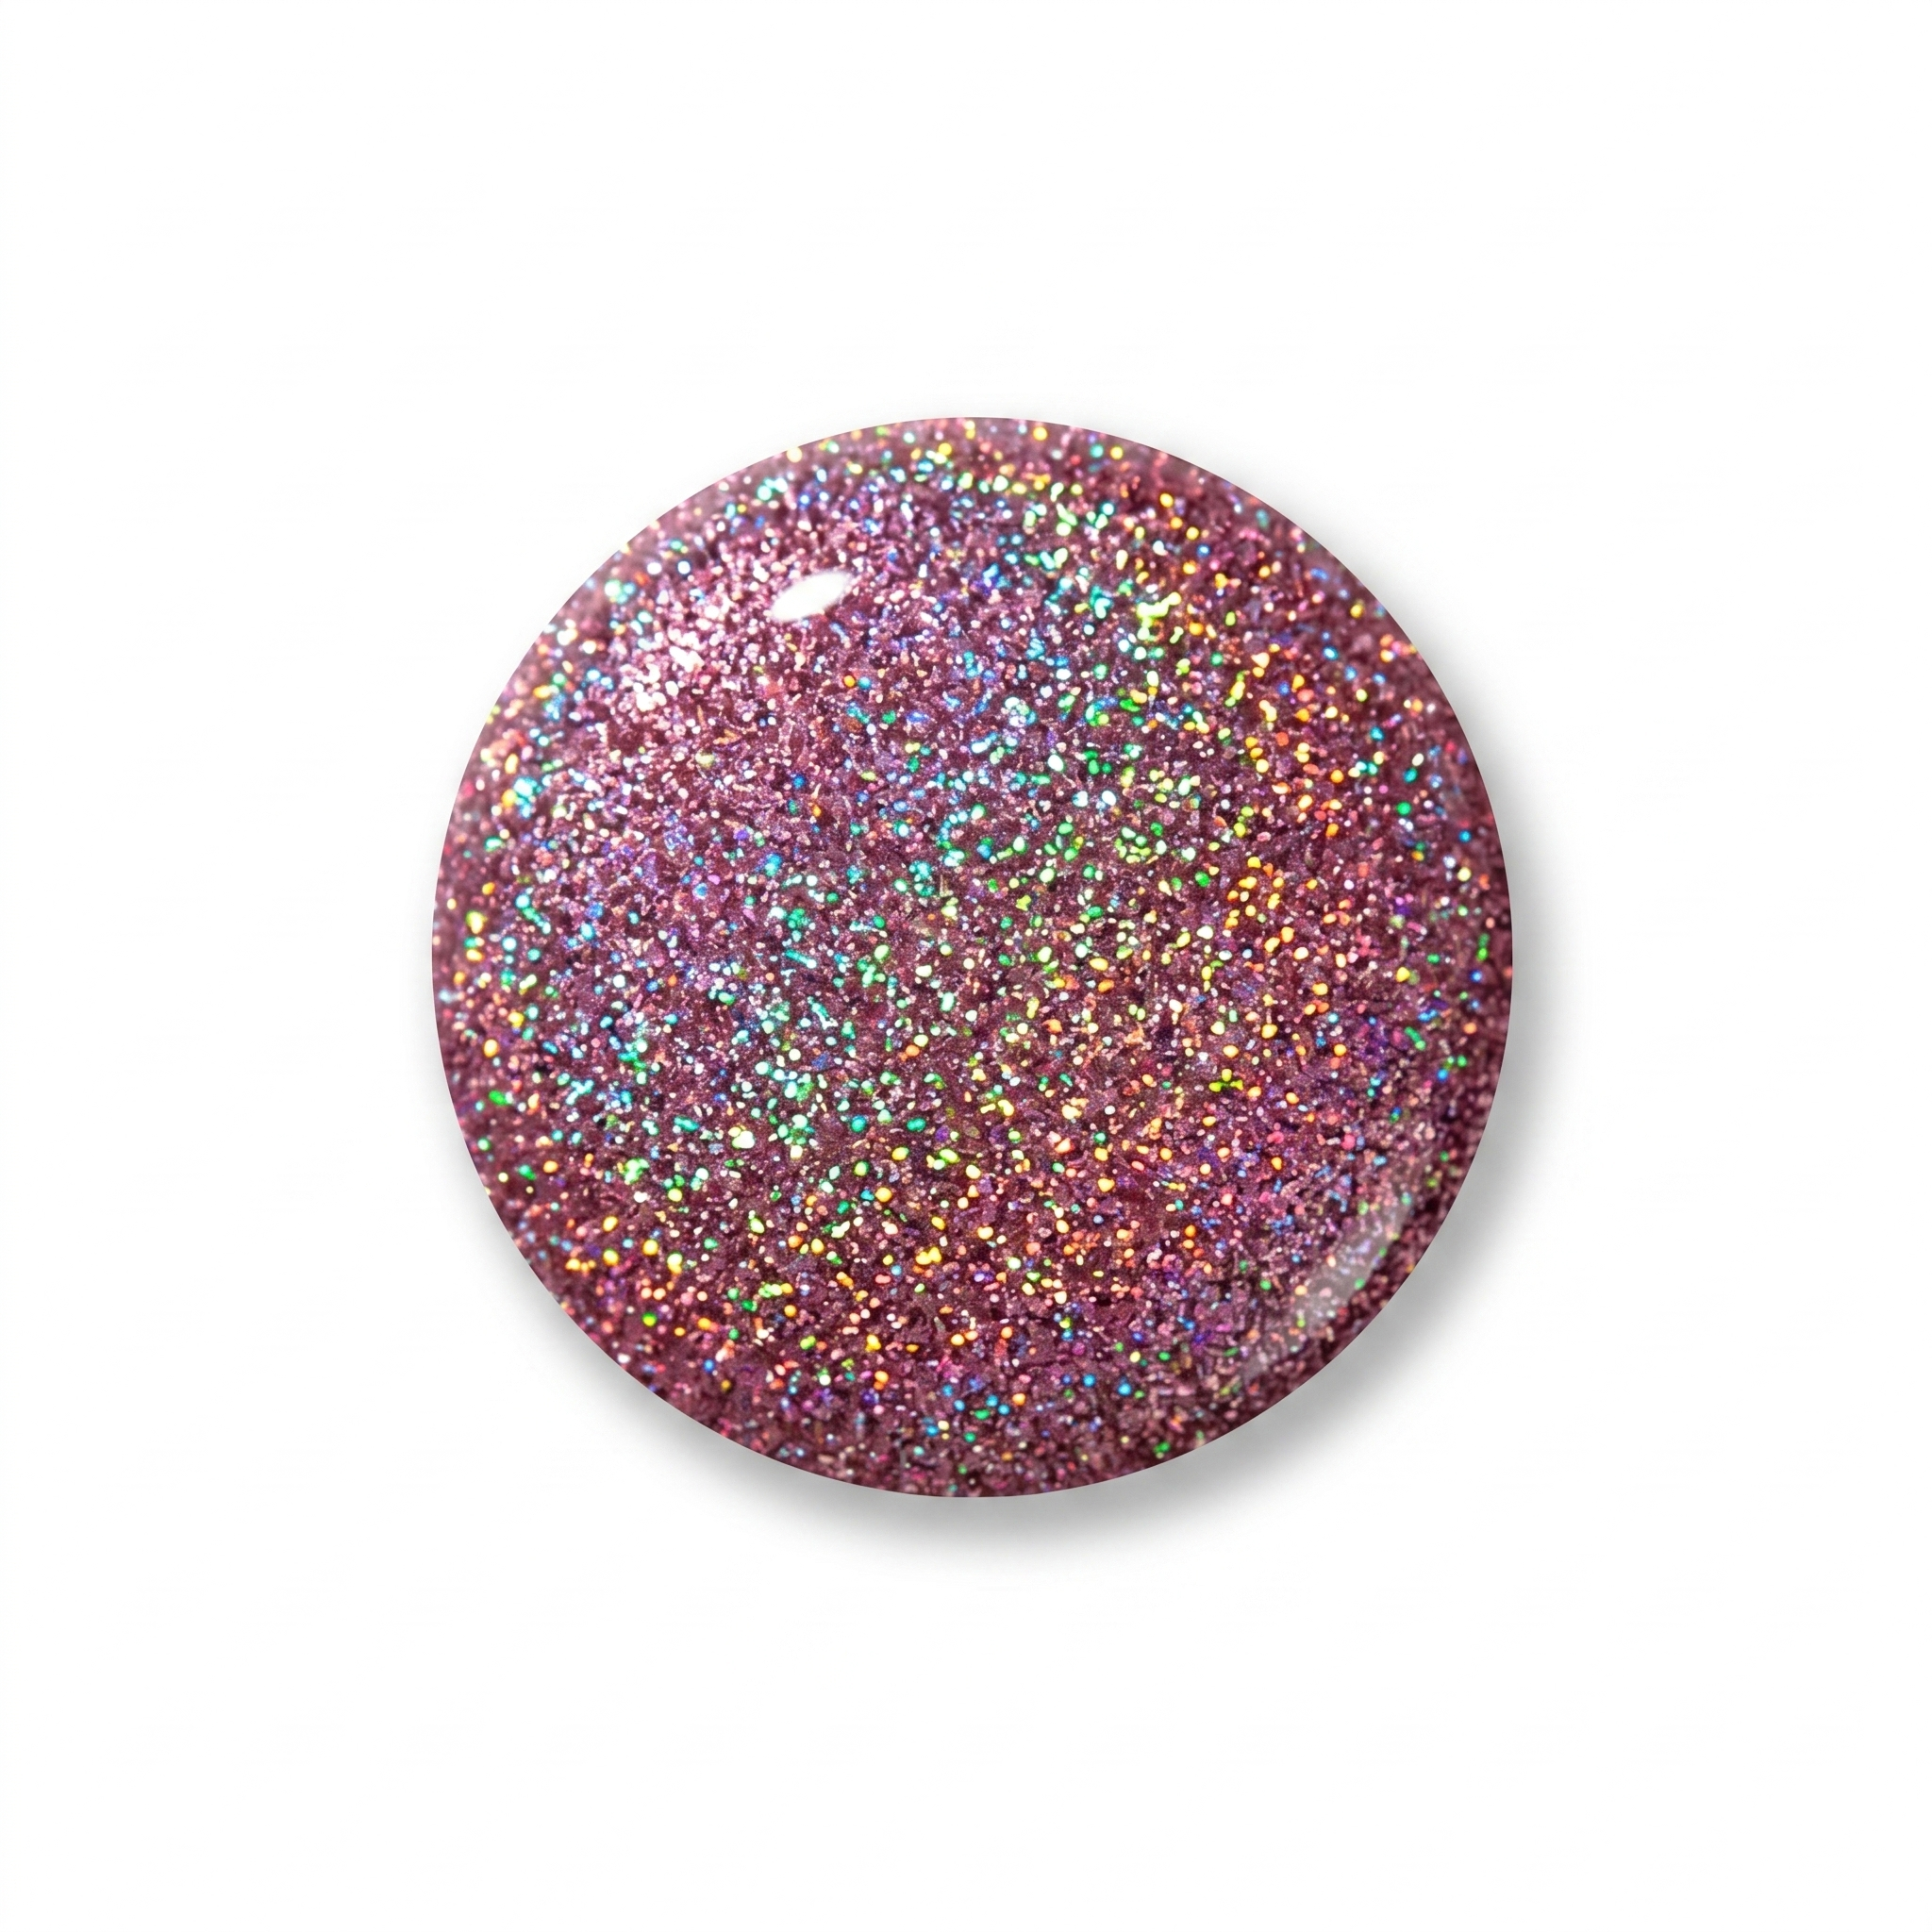
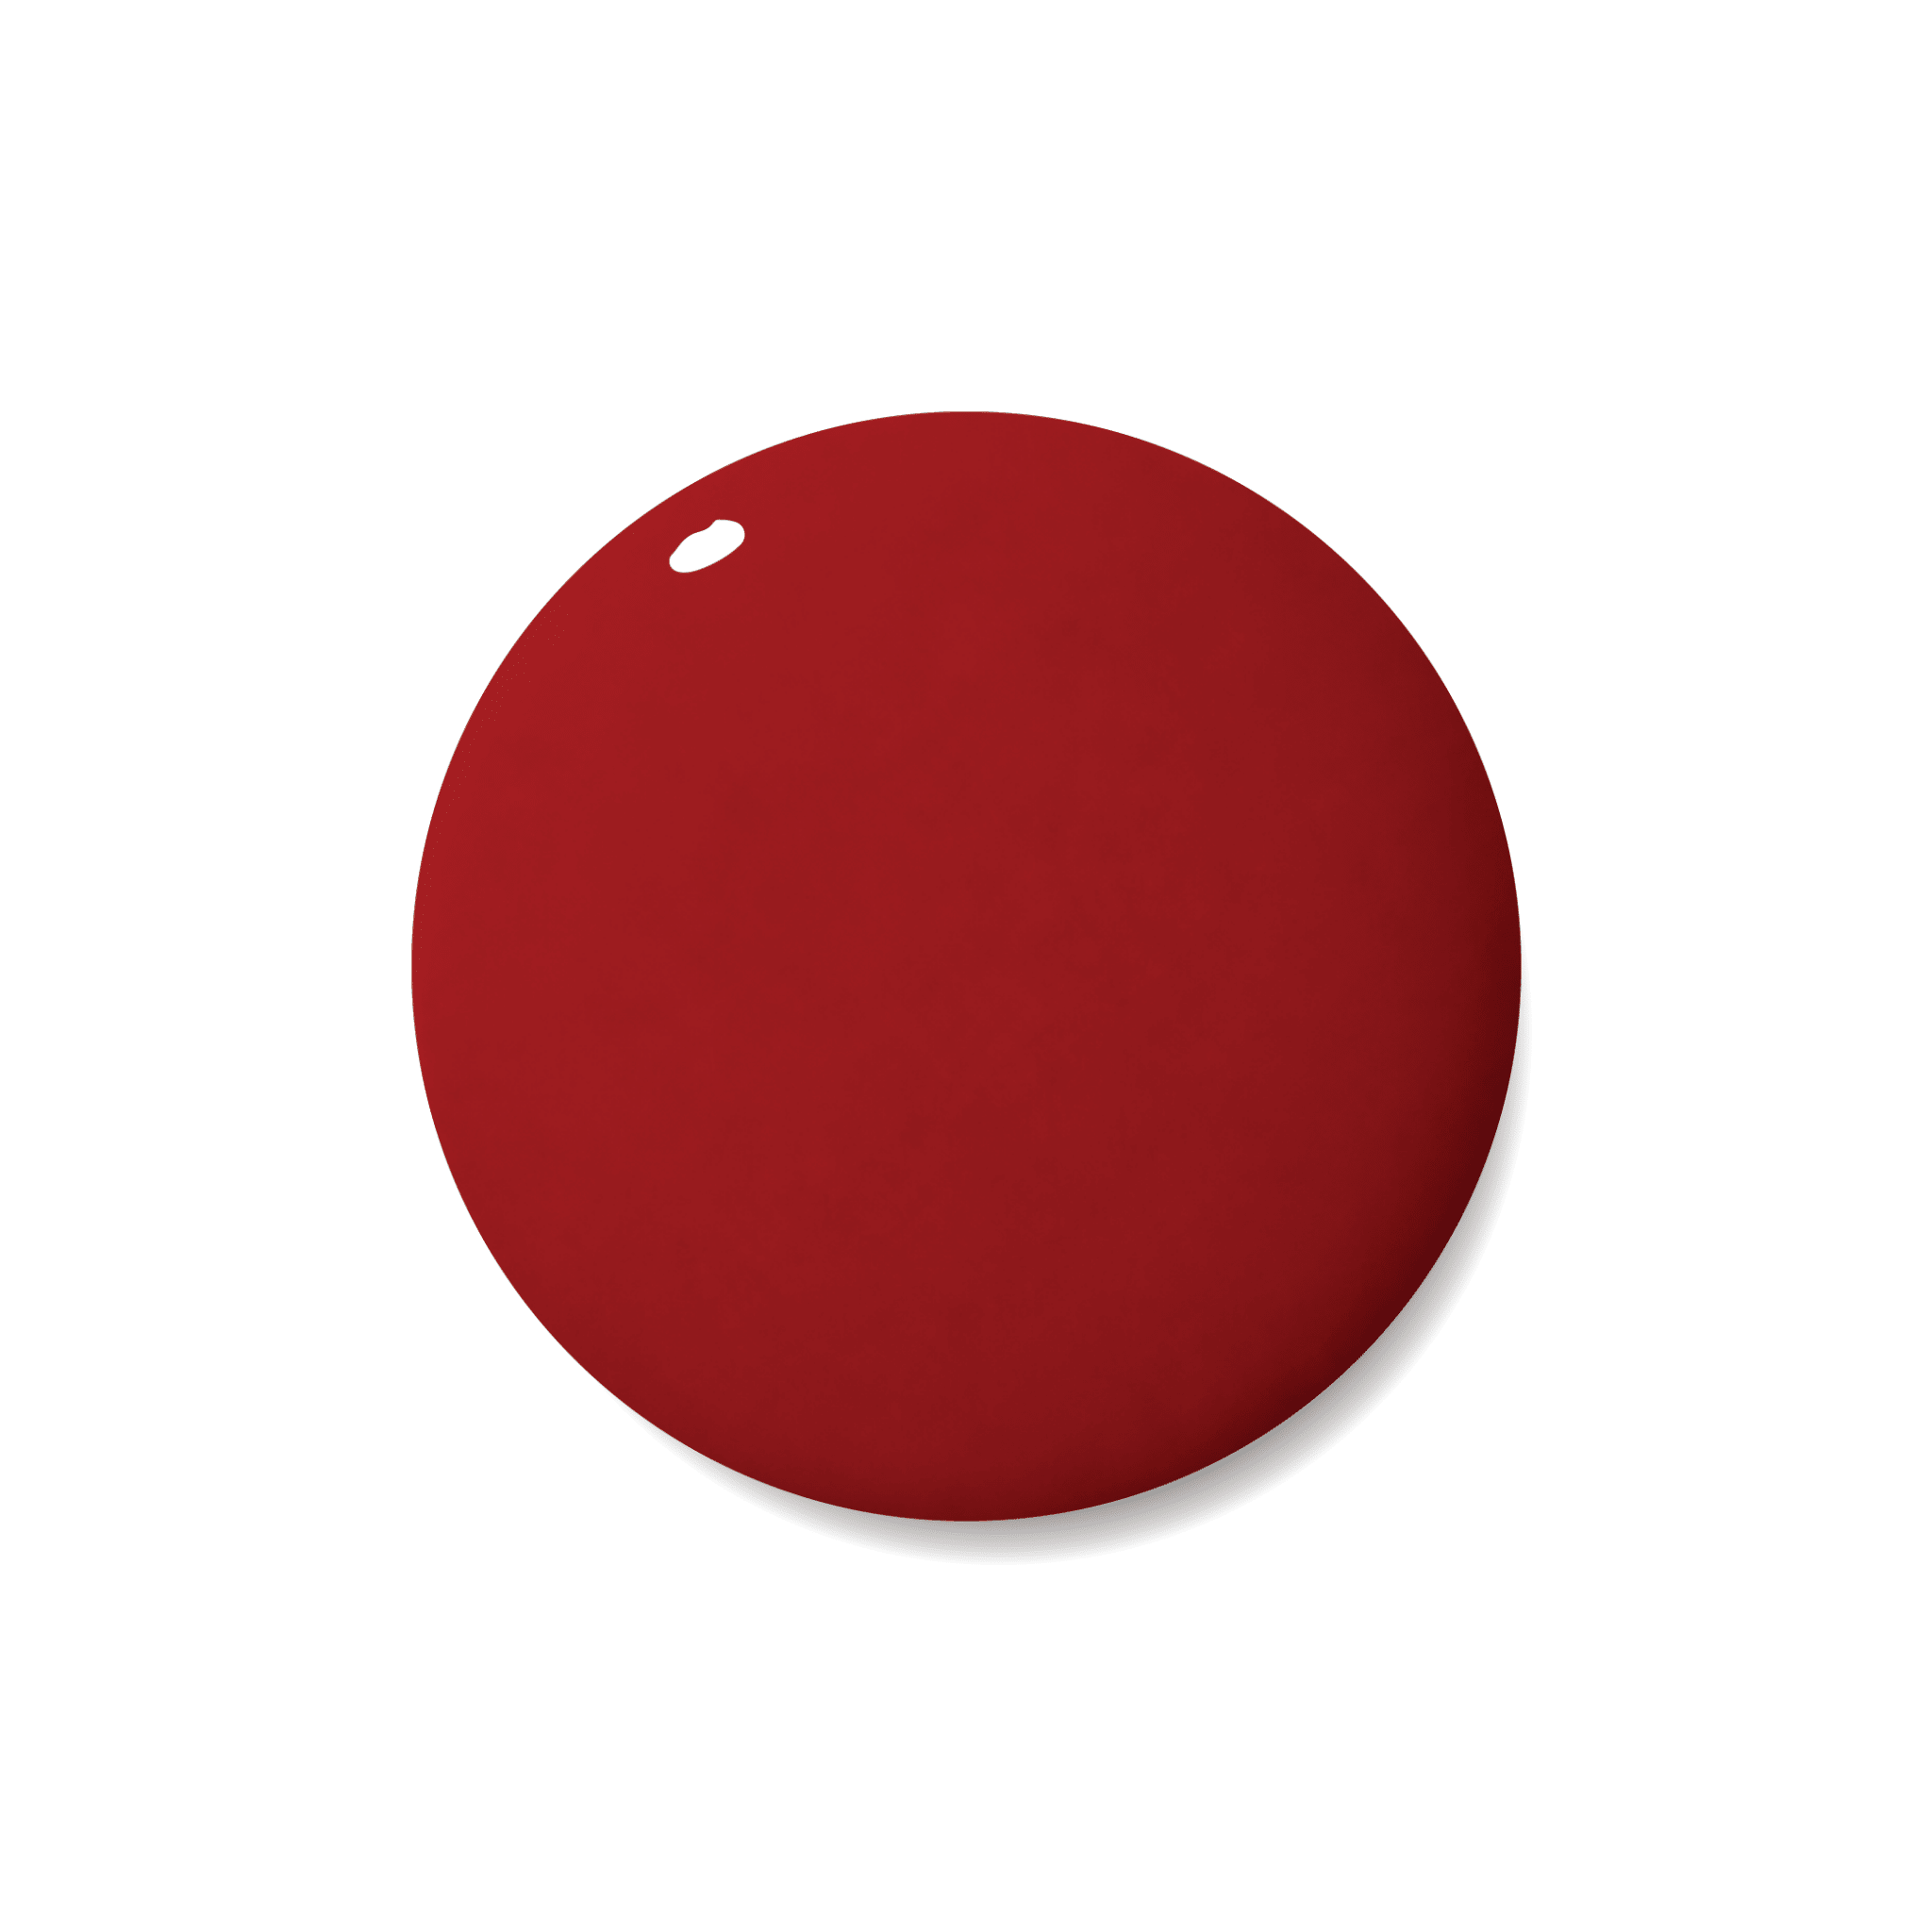


By Stellar Gel The Intersection of Cosmetic Chemistry and Professional Nail Technology
It is the most frustrating feeling in the nail world. You spend two hours sculpting a beautiful set of structure gel nails. They look perfect. The apex is perfected, the colour is crisp.
Three days later, you run your fingers through your hair... and snag.
You look down, and there it is: a tiny gap between the gel and your natural nail. The dreaded lift. Once it starts, it’s game over. Water gets in, bacteria follows, and the nail eventually pops off.
Lifting is rarely a "bad batch" of product. In 99% of cases, Lifting is a Prep Failure.
At Stellar Gel, we formulate our products for maximum adhesion, but chemistry can only do so much if the canvas isn't ready. Today, we are troubleshooting the top 5 reasons your gel is lifting at the cuticle—and exactly how to stop it.
1. The Invisible Enemy: Non-Living Tissue
This is the number one cause of lifting, hands down.
When we say "cuticle," most people point to the living skin fold at the base of the nail. That is actually the Eponychium. The true cuticle is the thin, transparent layer of dead skin that grows out onto the nail plate.
The Chemistry: Gel is designed to bond to Keratin (your nail). It cannot bond to Skin. Even if the skin is microscopic.
If you paint gel over a tiny scrap of leftover cuticle, the gel will cure onto that dead skin. As your skin naturally sheds or produces oil, that bond breaks. The gel lifts, creating a pocket for water to enter.
The Fix:
-
Do not just push back the eponychium. You must scrape the dead tissue off the nail plate.
-
Use a curette or an orangewood stick.
-
If the nail looks "chalky" near the cuticle line during prep, that’s good! Shiny spots usually mean hidden tissue.

2. The "Touch" Mistake: Oil Contamination
You prepped perfectly. You dehydrated the nail. And then... you scratched an itch. Or you brushed some dust off the nail with your finger.
The Chemistry: Your fingertips are covered in sebum (natural body oil). It only takes one microsecond of contact to transfer enough oil onto the nail plate to create a barrier.
Gel is "hydrophobic" (water-hating) and needs a dry, oil-free surface to cross-link with the keratin. Oil acts like a Teflon coating, preventing that bond.
The Fix:
-
Once you cleanse the nail, do not touch it.
-
Use a nylon dust brush, not your fingers.
-
If you accidentally touch a nail, you must re-cleanse and re-prime it. No exceptions.
3. Flooding the Cuticle (The Application Error)
We all want that "grown out of the skin" look, but getting too close is dangerous.
If wet gel touches the living skin (the eponychium or sidewalls) before you cure it, capillary action will pull it into the grooves of your skin. When you cure it, you have now hardened a piece of plastic that is attached to both your rigid nail and your flexible skin.
The Physics: Your skin moves. Your nail doesn't. The first time you move your finger, the skin pulls away, taking the edge of the gel with it. Snap. The seal is broken.
The Fix:
-
Leave a "hairline margin." You should be able to see a tiny sliver of natural nail between the color and the skin.
-
Use a thin liner brush to paint the perimeter, this will help give that “grown out of skin illusion”. The brush in the bottle is often too bulky for precision work near the cuticle.
4. Skipping the Primer (or Using the Wrong One)
Dehydrator removes water. Cleanser removes oil. But Primer is the bridge.
The Chemistry:
-
Acid-Based Primers: Etch the nail surface chemically to create microscopic pits for the gel to grip. (Great for problem lifters, but harsh).
-
Acid-Free Primers (Like Stellar Gel Bond): Act as "double-sided sticky tape." One end of the molecule bonds to the natural nail keratin, and the other end bonds to the artificial gel polymer.
If you skip this step, you are relying solely on the gel's natural stickiness, which often isn't enough for clients with oily nail beds.
The Fix:
Apply Stellar Gel Bond sparingly. You don't need to drown the nail. A semi-dry brush is enough to deposit the bonding molecules and scrub into the nail plate.

5. Under-Curing (The Lamp Issue)
If your gel isn't fully cured at the bottom layer (the layer touching the nail), it cannot bond.
This happens if:
-
Your lamp is old/weak.
-
Your hand placement is wrong (thumb is tilted).
-
You applied the product too thick.
The Chemistry: Uncured gel is unstable. It is a liquid sitting between a hard shell and the nail. It will eventually degrade and separate, causing the entire enhancement to pop off like a press-on nail and you also run the risk of causing an allergic reaction to the product.
The Fix:
-
Use a high-quality lamp (like the Stellar Gel Professional Shine Anywhere Lamp).
-
Cure thumbs separately, if needed, to ensure the light hits them directly.
-
Ensure your base layer is scrubbed in thin. Thick layers block light from reaching the bottom.
Conclusion: Prep is Power
Adhesion isn't magic; it's a sequence of chemical steps. Cleaning, dehydrating, priming, and curing are all essential parts of the equation.
If you are struggling with lifting, go back to basics. Watch your prep. Check your margins. And make sure you are using a system designed to work together.
Stop the Lift:
Equip yourself with the Stellar Gel Prep Kit (Stellar Bond & Stellar Base for our regular formula or Stellar Bond & Stellar Rubber Base Made in USA for our hypoallergenic formula) to ensure your canvas is as professional as your art.
Disclaimer: This article is for educational purposes. Chronic lifting despite perfect prep can sometimes indicate health issues or medication changes affecting the nail plate.