


By Stellar Gel The Intersection of Cosmetic Chemistry and Professional Nail Technology
Walk into any modern salon, and you will see it. The tech applies a bead of builder gel, grabs a tiny handheld lamp, holds it over the finger for 5-10 seconds, and then moves to the next finger.
This is Flash Curing.
It has become a staple technique for managing runny gels, locking in crystals, and freezing intricate nail art. But recently, dermatologists and chemists have raised a red flag. Is this popular "hack" actually contributing to the rise in nail allergies?
The answer is: It depends on what you do after the flash.
At Stellar Gel, we consider flash curing to be a powerful tool, but like any power tool, it can cause damage if mishandled. Today, we are breaking down the chemistry of the "Freeze," why it works, and where it becomes dangerous.
What is Flash Curing? (The "Sear")
Flash curing is the application of a short burst of UV/LED energy (usually 5–10 seconds) to the gel.
Think of it like searing a steak.
-
Searing: You cook the outside instantly to lock in the juices and shape.
-
Result: The outside is crusty and stable, but the inside is still raw.
Why Pros Do It:
-
Viscosity Control: It "freezes" the gel in place. If you are using a self-leveling builder that runs fast, a 5-10 second flash prevents it from flooding the cuticle while you work on the other fingers.
-
Heat Spike Management: By curing for 5-10 seconds, then stopping, you pause the exothermic reaction. You let the heat dissipate before hitting it again. This flattens the temperature curve and saves the client from pain.
-
Nail Art: As mentioned in our [Cat Eye Blog], you must flash cure magnetic designs immediately, or the particles will drift and blur.
The Hazard: The "Hard but Raw" Trap
Here is where the danger lies.
After a 10-second flash cure, the gel feels hard. If you tap it, it clicks.
But it is NOT cured.
The Chemistry:
At 10 seconds, you might have achieved 20–30% Monomer Conversion.
-
The polymer chain has formed enough to create a solid "shell."
-
But inside that shell, the gel is still mostly liquid monomers.
The Mistake:
Some techs (especially those working fast) flash cure all 5 fingers, apply a top coat, and then do one final cure.
-
The Risk: If the initial layers weren't fully cured, the top coat might block the light from reaching them during the final cure. You are sending the client home with a "sandwich" of cured top coat and raw, liquid chemical in the middle.
The Allergy Consequence:
Those raw monomers don't stay put. Over the next few days, they leach out of the bottom of the nail, penetrate the nail plate, and enter the skin. This is a recipe for Acrylate Sensitization.

The Handheld Lamp Problem
We love those tiny, portable UV lights for convenience. But we need to be realistic about their power.
-
Full Size Lamp: ~36 to 48 Watts. Optimized mirroring to hit all angles.
-
Handheld Lamp: ~3 to 6 Watts. Focused beam.
The Physics:
A handheld lamp is great for "freezing" art, but it generally lacks the power intensity to penetrate deep, pigmented structure gels.
-
Never rely on a handheld lamp for your final cure. It simply cannot drive the photons deep enough to ensure 100% conversion.
The Correct Protocol: "Freeze and Finish"
You don't have to stop flash curing. You just have to follow the Stellar Protocol to ensure safety.
Step 1: The Freeze (Flash)
Apply your Stellar Structure Gel. Use your Stellar Mini Flash lamp or the salon lamp for 5–10 seconds to lock the shape and stop the running.
-
Goal: Viscosity control.
Step 2: The Finish (Full Cure)
Once you have "frozen" the nails (either one by one or 4 at a time), the hand MUST go into a professional-grade lamp like our Stellar Shine Anywhere for the full 60 or 90 seconds.
-
Goal: Chemical safety.
Step 3: The Heat Check
If you are flash curing to stop heat spikes, the protocol is:
-
Flash 5-10 seconds.
-
Remove hand (wait 5 seconds for heat to dissipate).
-
Full Cure 60 or 90 seconds.
Conclusion: Don't Skip the Oven
Flash curing is a technique, not a shortcut. It allows you to create sharper art and cleaner structure, but it is never a substitute for the full polymerization process.
Use the "Freeze" to master your application, but always trust the "Oven" (your full-size lamp) to protect your client's health.
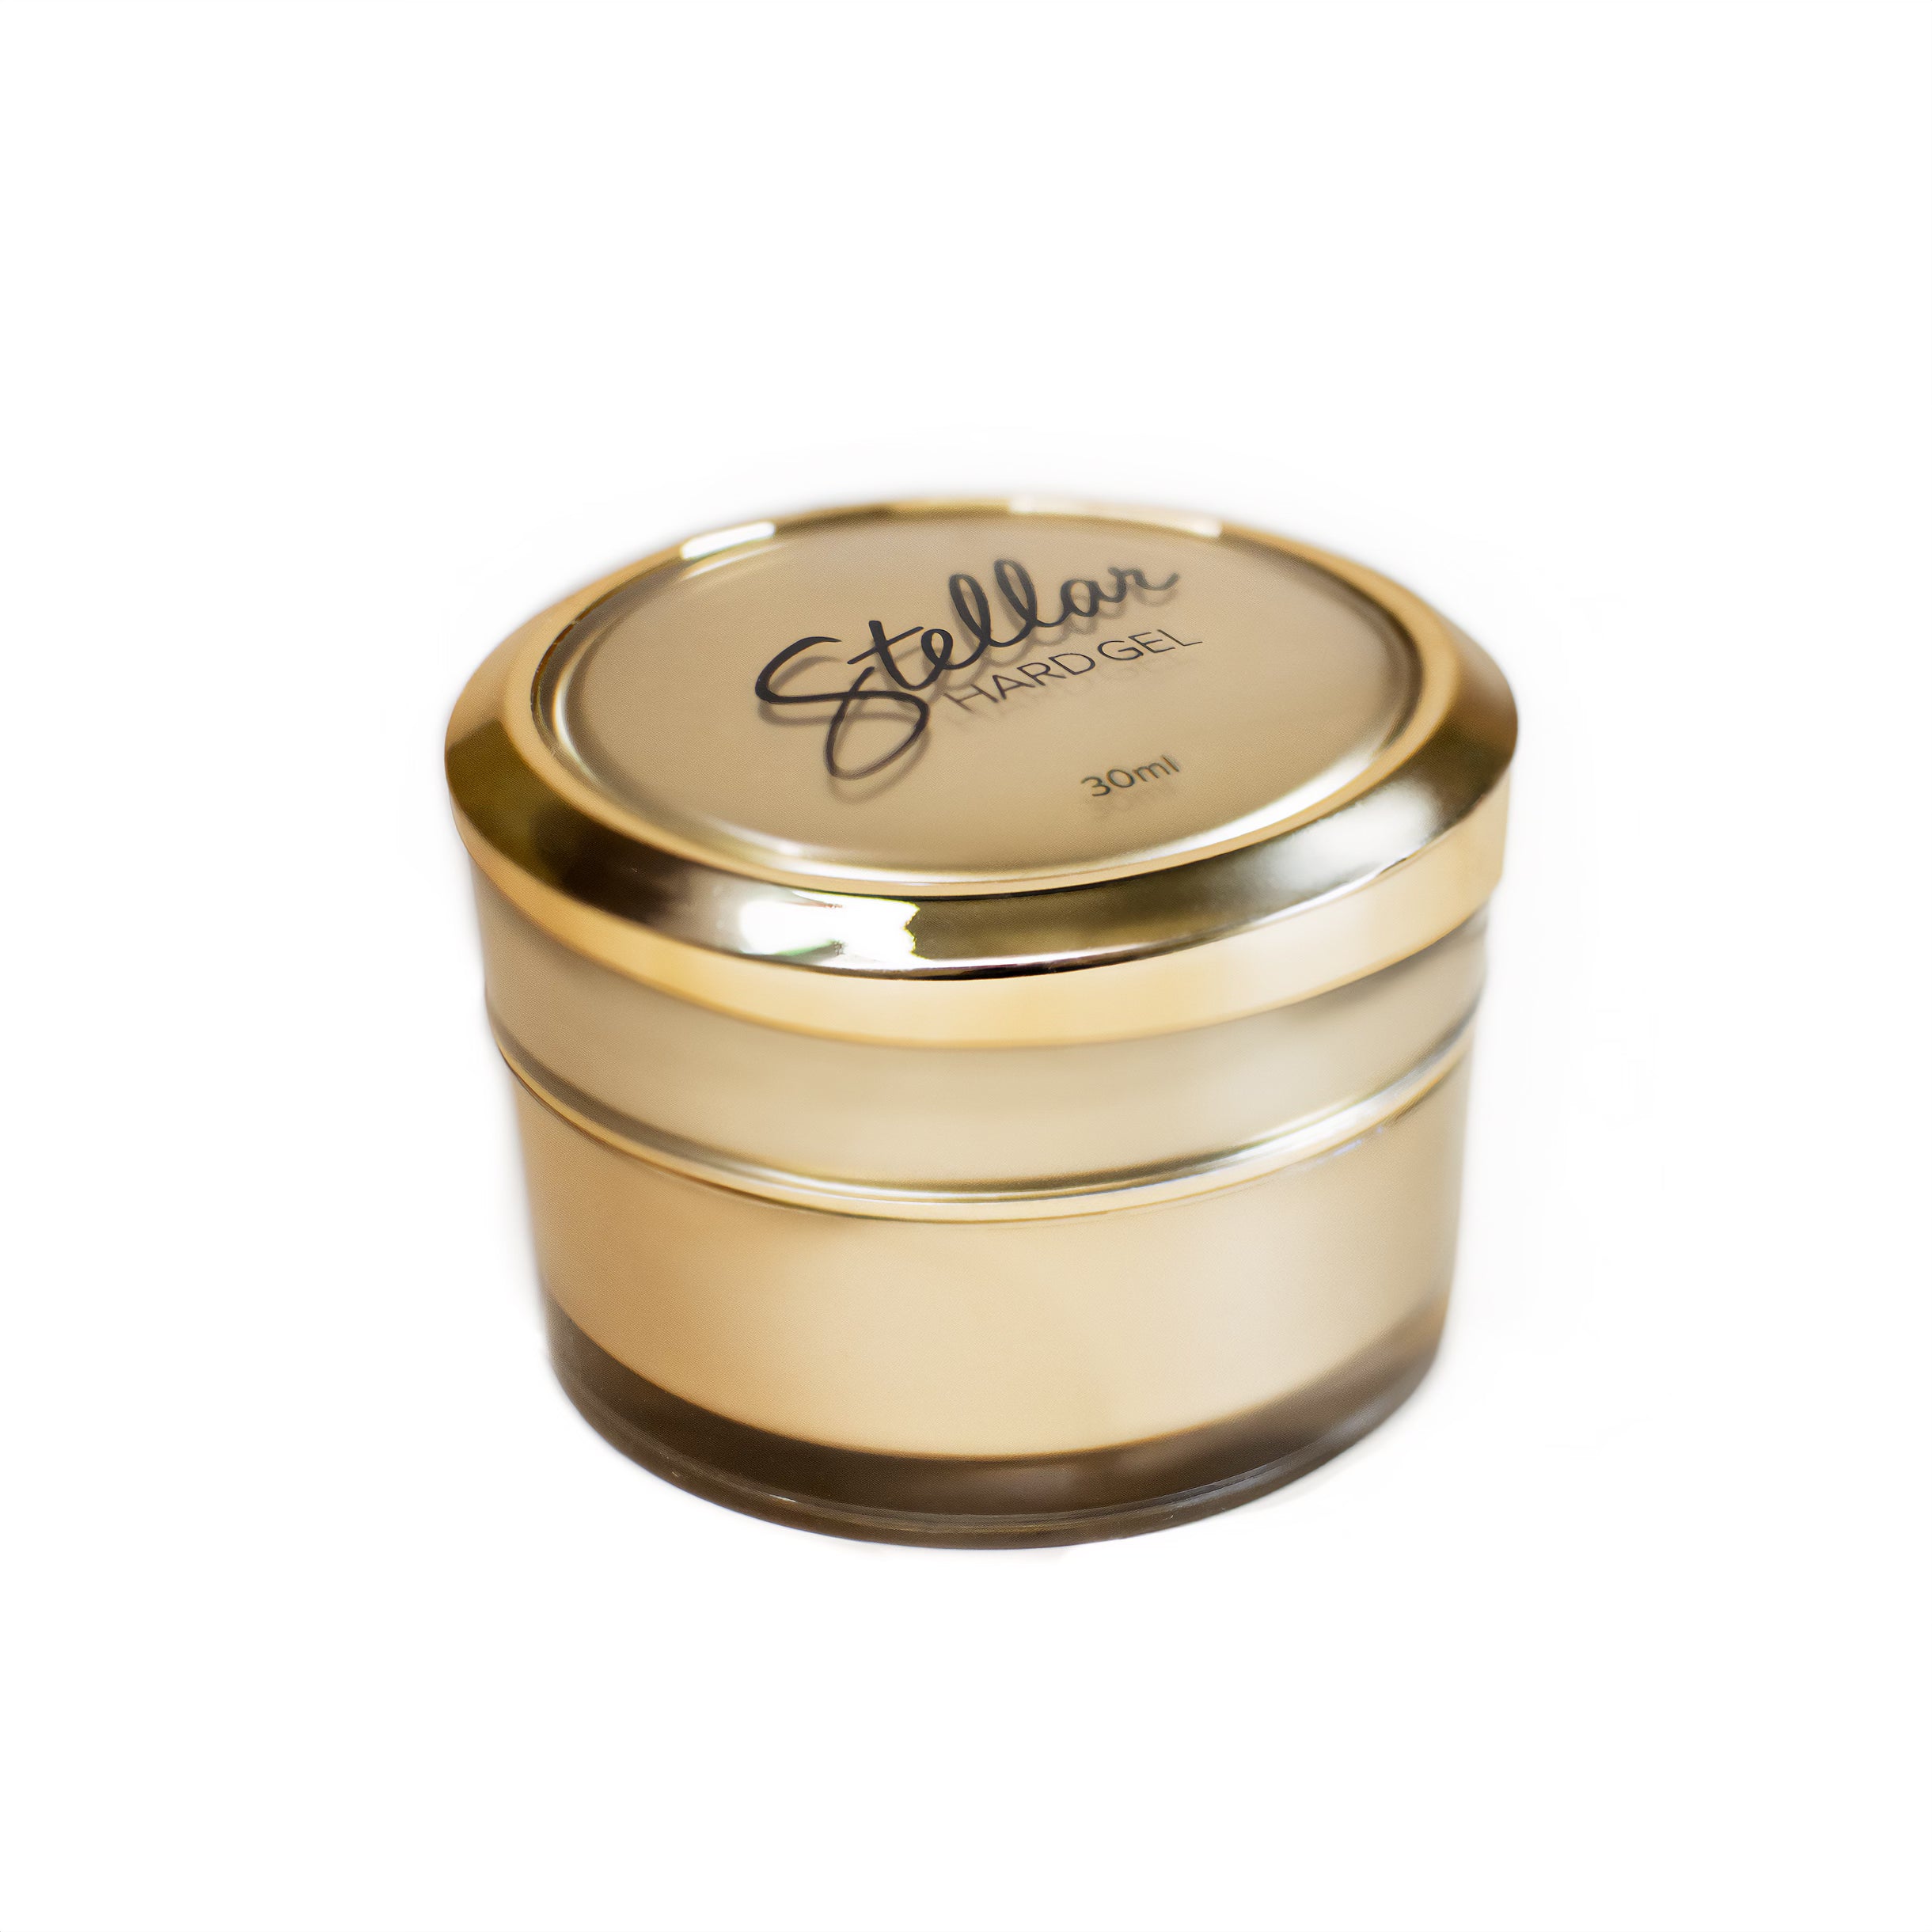
Power Up:
Ensure your final cure is complete with the Stellar Gel Sine Anywhere Professional Lamp, engineered to finish what the flash cure started.

Disclaimer: This article is for educational purposes. Always wear UV eye protection when using handheld curing lights.